

Getting Started with the Maven Plugin
In order to use the Zephyr Build Plugins, you will need to add the Zephyr Maven Repository to your build-system
Maven
- Add the repositories
        <repository>
            <id>sunshower-releases</id>
            <url>http://artifacts.sunshower.io/repository/sunshower-releases</url>
            <snapshots>
                <enabled>false</enabled>
            </snapshots>
        </repository>
        <repository>
            <id>sunshower-snapshots</id>
            <snapshots>
                <enabled>true</enabled>
            </snapshots>
            <url>http://artifacts.sunshower.io/repository/sunshower-snapshots</url>
        </repository>
- Add the Plugin Repositories
    <pluginRepositories>

        <pluginRepository>
            <id>sunshower-releases</id>
            <url>http://artifacts.sunshower.io/repository/sunshower-releases</url>
            <snapshots>
                <enabled>false</enabled>
            </snapshots>
        </pluginRepository>
        <pluginRepository>
            <id>sunshower-snapshots</id>
            <snapshots>
                <enabled>true</enabled>
            </snapshots>
            <url>http://artifacts.sunshower.io/repository/sunshower-snapshots</url>
        </pluginRepository>

    </pluginRepositories>
Creating a Self-Extracting Executable
In this example, we’re going to create an executable file for Windows that extracts itself before running a batch script contained within.
1. Create the project
With Maven installed on your local machine, enter:
mvn archetype:generate -DgroupId=<YOUR GROUP ID> \
-DartifactId=<YOUR ARTIFACT ID> \
-DarchitypeArtifactId=maven-archetype-quickstart \
-DarchetypeVersion=1.4 \
-DinteractiveMode=false
This will create a new directory under <YOUR ARTIFACT ID>
Change into that directory, you’ll find a file called pom.xml that should look something like:
<?xml version="1.0" encoding="UTF-8"?>

<project xmlns="http://maven.apache.org/POM/4.0.0" xmlns:xsi="http://www.w3.org/2001/XMLSchema-instance"
  xsi:schemaLocation="http://maven.apache.org/POM/4.0.0 http://maven.apache.org/xsd/maven-4.0.0.xsd">
  <modelVersion>4.0.0</modelVersion>

  <groupId>io.zephyr.maven.examples</groupId>
  <artifactId>simple-executable</artifactId>
  <version>1.0-SNAPSHOT</version>

  <name>simple-executable</name>
  <!-- FIXME change it to the project's website -->
  <url>http://www.example.com</url>

  <properties>
    <project.build.sourceEncoding>UTF-8</project.build.sourceEncoding>
    <maven.compiler.source>1.7</maven.compiler.source>
    <maven.compiler.target>1.7</maven.compiler.target>
  </properties>

  <dependencies>
    <dependency>
    ... some dependencies (not important)
    </dependency>
  </dependencies>

  <build>
    <pluginManagement><!-- lock down plugins versions to avoid using Maven defaults (may be moved to parent pom) -->
      <plugins>
      ... some plugins (not important)
      </plugins>
    </pluginManagement>
  </build>
</project>
2. Add the file to execute upon extraction
Next, we need to define an action that will be executed once the executable has extracted itself. There are few restrictions on what this may be–it can be a batch/cmd file, another executable, or even a self-extracting executable generated by the Zephyr Build system
In this case, we’ll just execute a simple batch file
In the same directory as the pom.xml file, you will see a src directory. Under src create a new directory, main/resources, and create a file called sample.cmd containing:
ECHO OFF
ECHO Hello World!
PAUSE
3. Configure the Zephyr Maven Plugin
Next, we’ll configure the Zephyr Maven Plugin to generate a self-extracting executable containing this executable file
Note: The self-extracting executable may contain other files/directories in addition to this executable file. For instance, it can contain a bundled JRE along with all of your application files (jars, etc.)
Add the following snippet to your build/plugins section of your POM file:
<plugins>

    <plugin>
        <groupId>io.zephyr.maven</groupId>
        <artifactId>zephyr-maven-plugin</artifactId>
        <version>${zephyr-maven-plugin.version}</version>

        <executions>
            <execution>
                <id>generate-windows</id>
                <phase>package</phase>
                <goals>
                    <goal>generate-sfx</goal>
                </goals>
                <configuration>
                    <platform>windows</platform>
                    <!-- the directory we created -->
                    <archive-directory>${project.basedir}/src/main/resources</archive-directory>

                    <!-- the base-name of the executable file we're generating (e.g. test -> test.exe)-->
                    <archive-base>${project.build.directory}/test</archive-base>
                    <!-- the file we-re executing upon successful extraction -->
                    <executable-file>sample.cmd</executable-file>
                </configuration>
            </execution>
        </executions>
    </plugin>
</plugins>
Now, run mvn clean install. At the end, you should see something like:
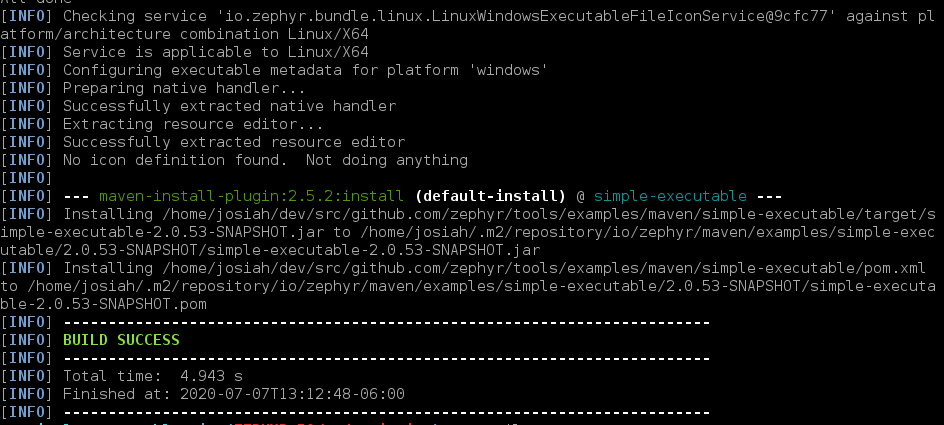
Now, under your target directory, you will see test.exe
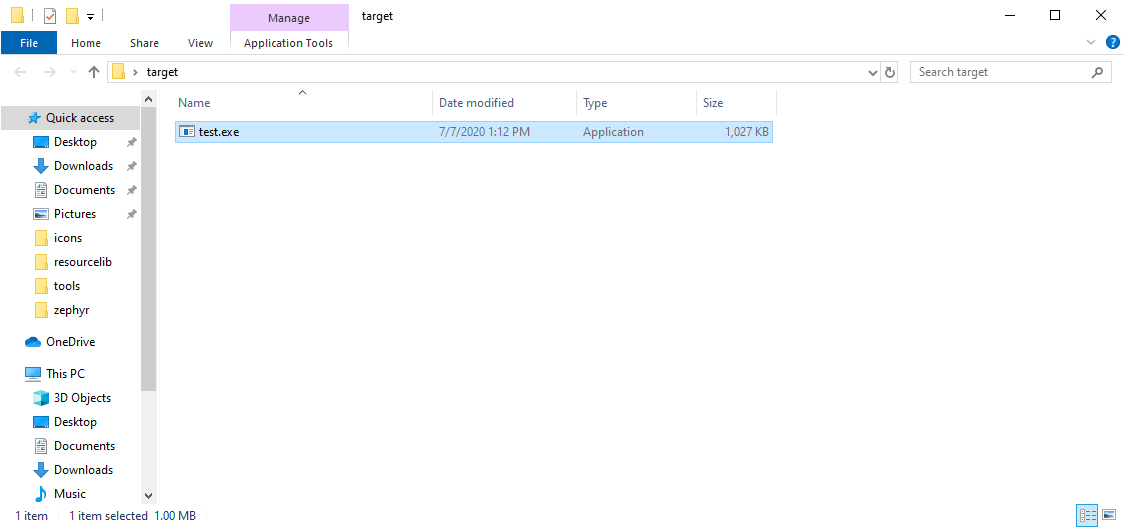
When you run it, you will see the output of the sample.cmd file
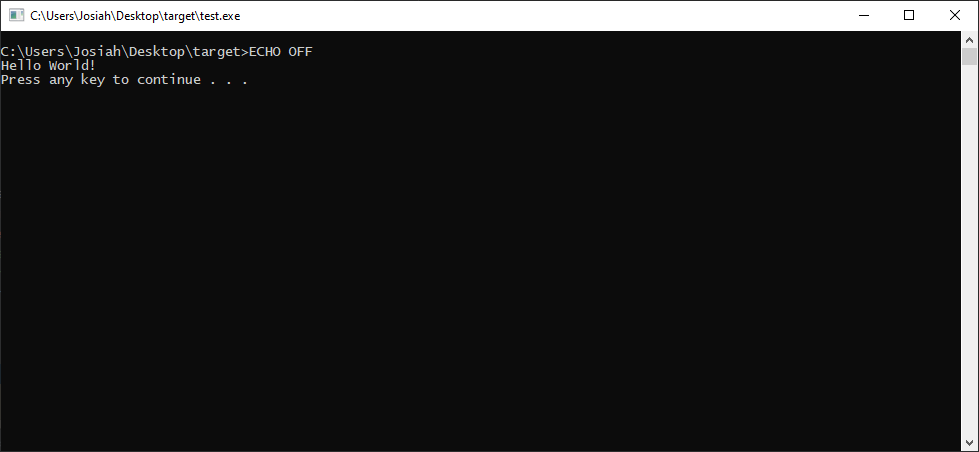
4. Adding Branding by Changing the Icon
Notice that the generated executable has a generic Windows icon. We’d like to attach our own branding to it so that end-users known what it is at a glance. Zephyr can automatically generate ICO files from raster or SVG images, so we don’t need any special ICO file generator software.
We’re going to set an ICO file with a variety of resolutions and color-depths to be the icon on the executable. The image we’re going to generate these from is the following SVG:

Let’s add our icon to the project and specify that it should be added to the executable
Copy installer.svg (or your icon) to src/main/resources/icon.svg
Next, modify your plugin configuration as follows:
<plugin>
    <groupId>io.zephyr.maven</groupId>
    <artifactId>zephyr-maven-plugin</artifactId>
    <version>${zephyr-maven-plugin.version}</version>


    <executions>

        <execution>
            <id>generate-windows</id>
            <phase>package</phase>
            <goals>
                <goal>generate-sfx</goal>
            </goals>
            <configuration>
                <platform>windows</platform>
                <archive-directory>${project.basedir}/src/main/resources</archive-directory>
                <archive-base>${project.build.directory}/test</archive-base>
                <executable-file>sample.cmd</executable-file>


                <executable-configuration>
                    <icon-definition>
                        <format>ICO</format>
                        <source>${project.basedir}/src/main/resources/installer.svg</source>
                        <icons>

                            <icon>
                                <size>16px</size>
                                <channel>rgba</channel>
                            </icon>


                            <icon>
                                <size>32px</size>
                                <channel>rgba</channel>
                            </icon>

                            <icon>
                                <size>48px</size>
                                <channel>rgba</channel>
                            </icon>

                            <icon>
                                <size>96px</size>
                                <channel>8bit</channel>
                            </icon>

                            <icon>
                                <size>32px</size>
                                <channel>8bit</channel>
                            </icon>

                            <icon>
                                <size>256px</size>
                                <channel>8bit</channel>
                            </icon>

                        </icons>
                    </icon-definition>
                </executable-configuration>
            </configuration>
        </execution>
    </executions>

</plugin>
Run mvn clean install to rebuild. This will generate an ICO file containing all the standard Windows resolutions and attach it to your executable:
![]()